If you’re an engineer at a digital product company or agency, you’re probably no stranger to the principles of the agile method, sprints, and scrums. You know that they pretty much mean “work fast and avoid blockers”. These methods and processes are a great way to work quickly and efficiently, and we devoutly subscribe to them at MojoTech.
Now if you’re an engineer at a digital product company, you’re also likely to work alongside the Design team and you’ve probably heard them mention Sketch. Normally, the designers are either praising it or cursing it — it really depends on what day of the week it is.
So what does one have to do with the other? One day, you may find yourself needing to open up Sketch in order to extract information vital to a task you’re trying to complete. Without a basic knowledge of Sketch, you’ll find yourself completely blocked. This post will cover the basics of “Sketch for developers” so that you can feel more comfortable and capable doing your job, free of reliance on those shifty designers. (Note: I am a designer, so I can say that.)
Why should you care about Sketch?
At MojoTech, we put a strong emphasis on collaboration and breaking down barriers between teams that traditionally have had their roles siloed. It doesn’t matter if your title is designer or engineer, what matters is that we are all able to speak the same language to deliver the best products and experiences possible. This means that our designers understand code, and our engineers value good design, and both teams are comfortable using all the tools at our collective disposal. We think this is the best way to operate and this article is just a small step to help nurture that collaboration.
So, what is Sketch anyway?
Sketch is an app used to design digital interfaces. That’s really it. It stands apart from its competitors (mainly Photoshop) because from its inception it was built with product design as its main objective — not photo editing. Which as a result means it is a lot less bloated and performs better. Yes, that means it does less than Photoshop, but that’s fine.
Focusing on just this one realm of design actually has some very cool side effects, for example, everything that can be designed in Sketch can technically be replicated in CSS. Just go on and right-click any element in a Sketch file to copy over the CSS attributes.
(Note: I never said the code was pretty. This is just to prove a point. Please think twice before pasting this code into your project. Promise me you will.)
But comparing Sketch to Photoshop is not what we are here for. You’re an engineer and you just want to be able to get in, get what you need, and get out without causing a disaster. Similar to visiting the DMV, so let’s get to it.
Reading a Sketch file
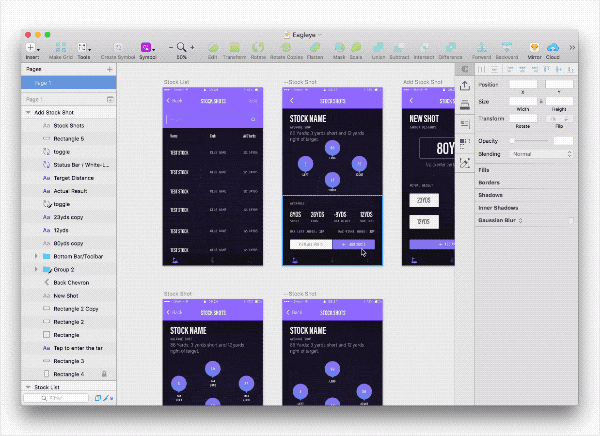
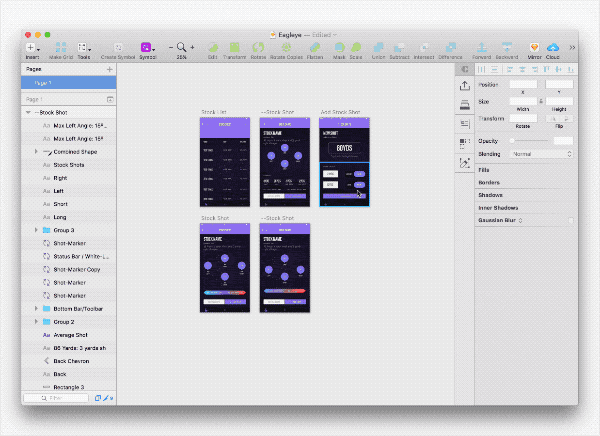
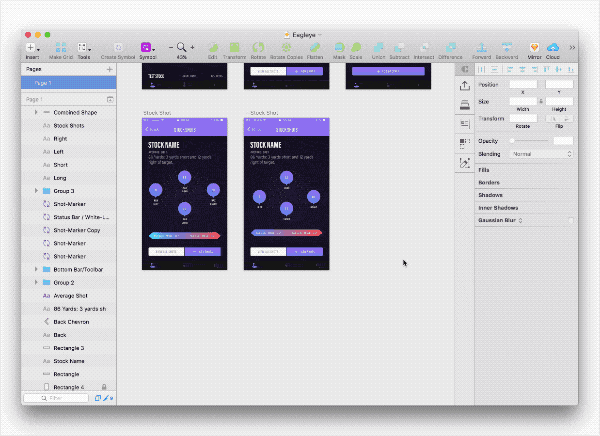
Opening a Sketch file can feel quite foreign at first. Even if you are familiar with the layout of a Photoshop file you’ll quickly notice that Sketch is a different beast entirely. The top menu bar is populated by bright friendly icons instead of 79 contextual dropdowns and sliders. The various floating toolbars are nowhere to be seen and where for heaven’s sake is that 90-swatch color palette? This is all fine, and you don’t really need those things anyway.
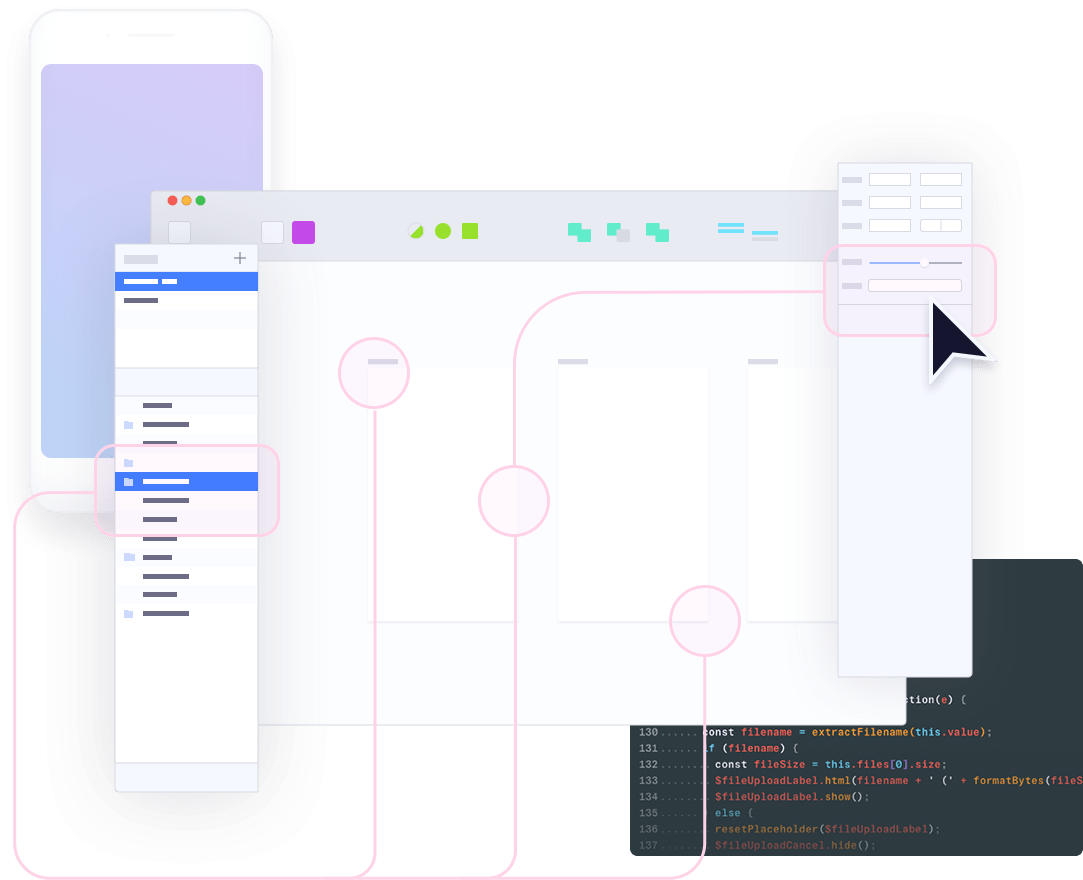
Let’s break down what you are probably seeing right now:
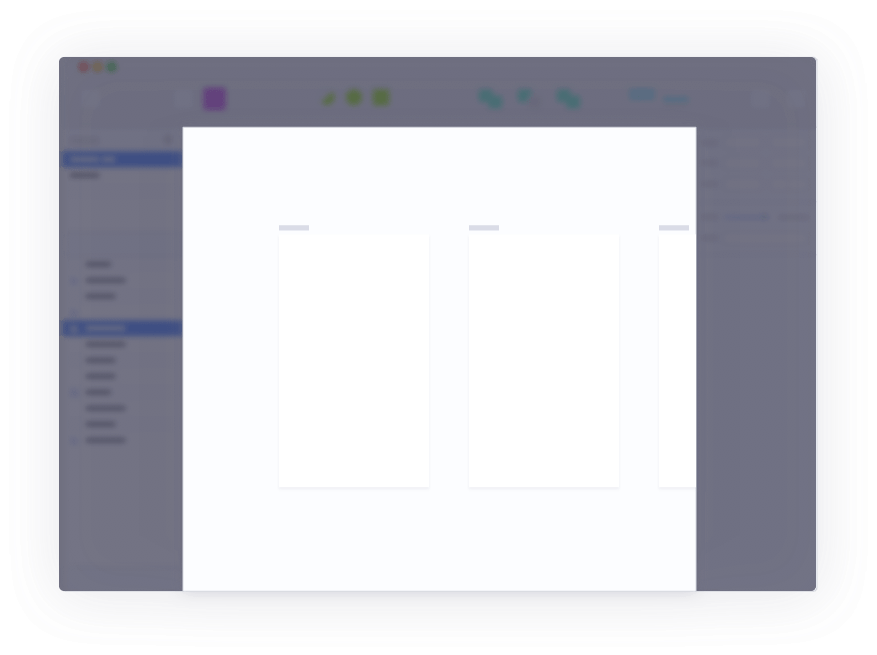
Canvas Area: This is the center and most prominent part of the Sketch app because this is where the magic happens. Here you can see all the beautiful artboards that the designer has pored over for countless hours. Now depending on who that designer is and how big the file is, those artboards could be in various levels of orderliness, ranging from OCD all the way to absolute chaos and anarchy. Most of the time it’s the latter, which leads us to the next section.
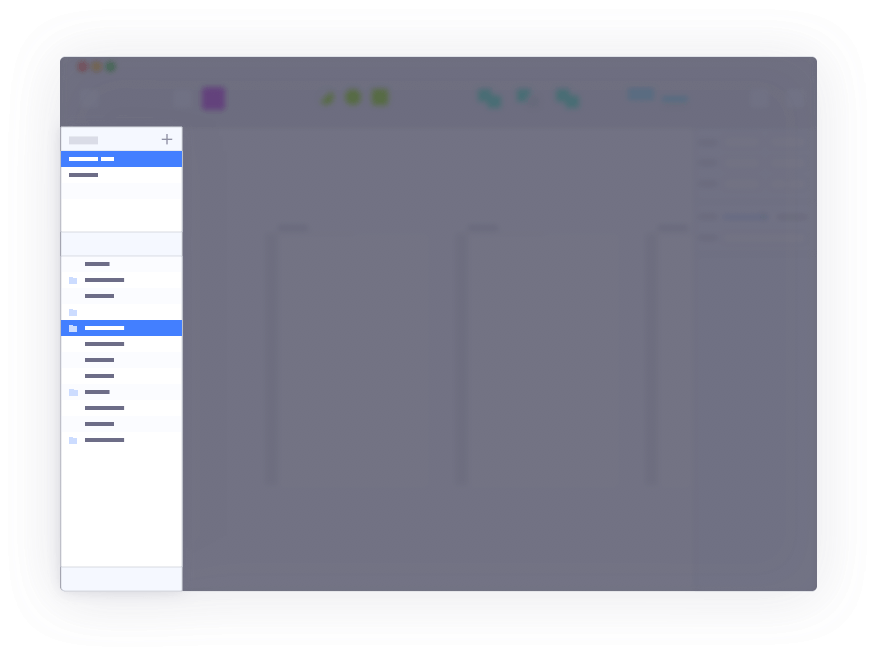
Page/Artboard Sidebar: This is on the far left of the app, and it’s the best way to navigate any Sketch file very quickly, assuming you know what you’re looking for. It essentially provides you with a list view all the pages and artboards within those pages.
Pages are very top level and can be broken up in different ways. For example, an app-specific Sketch file might include Onboarding, Feed/App and Marketing “Pages”. Within these pages, there are several artboards. Those will be listed below the Pages section in the sidebar, those artboards are generally major views within that app; think Settings or Sign in views.
Last but not least are the actual elements, these are the small components that make up the design of the app, this includes everything from type blocks to buttons and search bars. Ideally, these would be meticulously named and easy to decipher, most often they are not and for that, I apologize on behalf of all designers.
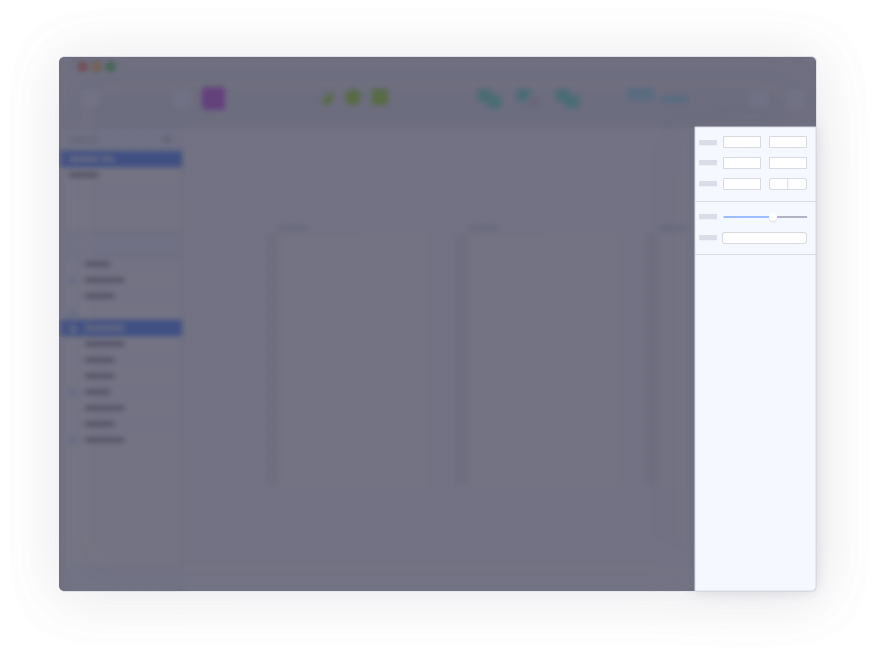
Element Inspector Sidebar This is the meat and potatoes of the Sketch app. Sure the visuals are nice, and organization is cool, but the real value here is that the element inspector sidebar allows you to see all the details you need to nail that design implementation. It’s located on the far right of the app and once you select an element, either by finding it from the Artboard sidebar or using your mouse and clicking on it within the canvas, you’ll see a ton of properties pertaining to that element. Starting from the top with the absolute position of that element.
You can also find all the details about the typography from here; line-height, letter spacing, all of it. I think the best way to see how much info you can gather is by poking around here, it is a contextual menu that changes based on what is selected. So go on and try it by selecting a few different types of elements, you might be surprised by the robust amount of info you can get.
Top Toolbar The top toolbar is customizable and mainly used for creating designs in Sketch. It does not help you navigate or gather info, so for now, we can pretty much ignore it. If you are interested in using Sketch to create designs, well first of all good on you. Secondly, you may want to look elsewhere for some tutorials since this post is not really focused on that.
With this knowledge, you should feel at ease when opening a Sketch file. For most things, you won’t need to dig through the menus or dropdowns, and naturally the more you explore the app the more comfortable you will feel navigating it.
Next up, we should learn some helpful shortcuts so that we can navigate these files a lot quicker and more efficiently.
Some helpful shortcuts
As a developer, you are probably pretty cozy with your keyboard. You have undoubtedly customized it to no ends, reconfigured keys, and memorized a dozen terminal alias’ all in an effort to become more efficient. You know better than anyone the massive difference it makes when you are familiar with a tool’s keyboard shortcuts. So here are a few very nifty tricks Sketch has built in:
- ⌘ + Click: As you become familiar with navigating a Sketch file, you will notice that designers often group multiple elements together. But sometimes you need to inspect something that is nested deeply in multiple folders. You could click continuously until you unearthed the single element, but ⌘ + Click is a lot quicker as it allows you to directly drill down to the element.
- ⌘ + (0, 1, 2, 3, +, -): Quick zoom controls. 0 gets you to the actual size 1 centers the canvas 2 zooms in on your selection 3 centers your selection '+' and '-' incrementally zooms in or out
- Alt + Hover: Pretty much auto red-lining. Click on any element and hold the alt key and hover around, you’ll notice that you can view the spacing around this element in relation to other elements on the artboard or even the artboard itself. About ten times more efficient for getting exact padding and margin sizes than eyeballing it.
- Ctrl + (L, R, G): Display guides. L shows you the “layout” or what you may know as the grid columns. Very handy especially if your project contains a predefined grid. (Hint: it should.) R shows you rulers and ruler guides G displays the grid.
- Enter: It’s not uncommon that you may accidentally hit a key the sends you into some weird vector path editor mode. Hitting the Enter/Return key will get your mouse back into ‘Select Mode’. If you’re coming over from the Adobe apps, this simple task can sometimes be more challenging than it sounds.
There are tons of other handy shortcuts, but these are perhaps the most useful for navigating a Sketch file. With these shortcuts, even the most prolific of files will be manageable and you should be able to quickly gather whatever specs you need to continue your work.
Exporting
Perhaps the most valuable function that Sketch provides to you, the engineer, is exporting!
By now you should be familiar with navigating the file and finding what it is you need from it. Exporting is the final step. The developers of Sketch knew that this feature would be something that would be used heavily, so instead of burying it in menus and giving you obtuse specifications, they made exporting very simple and straightforward.
First, select what it is you want to export, it can be an icon, a group of elements or the entire artboard. Then you’ll see at the bottom of the inspector panel a new option will be available to “Make Exportable”. Go ahead and click that.
Here you can export as many different version of this element as you want, and even perform batch exports in different formats and sizing. There’s even the option to automatically prefix each individual export. This alone makes Sketch roughly 92% more enjoyable to use than any of its competitors. Need I say more? Now go forth and export assets my friend, export to your heart’s content.
Conclusion
Following this basic outline, you should be well informed on how to get rid of fundamental dependencies in your way that are preventing you from developing quickly and efficiently. Although, this tutorial should certainly never replace rolling your chair over to the nearest designer and having a conversation. It will at least give you a baseline understand so your conversation can be more productive!
Be sure to check out the tutorials and links peppered throughout this post if you’d like to dive a little deeper and feel free to leave questions or your favorite tips in the comments below.